Login
Connect your MegaAds account
WorkDiary uses your MegaAds account for authentication. This allows seamless sync with your team's dashboard.
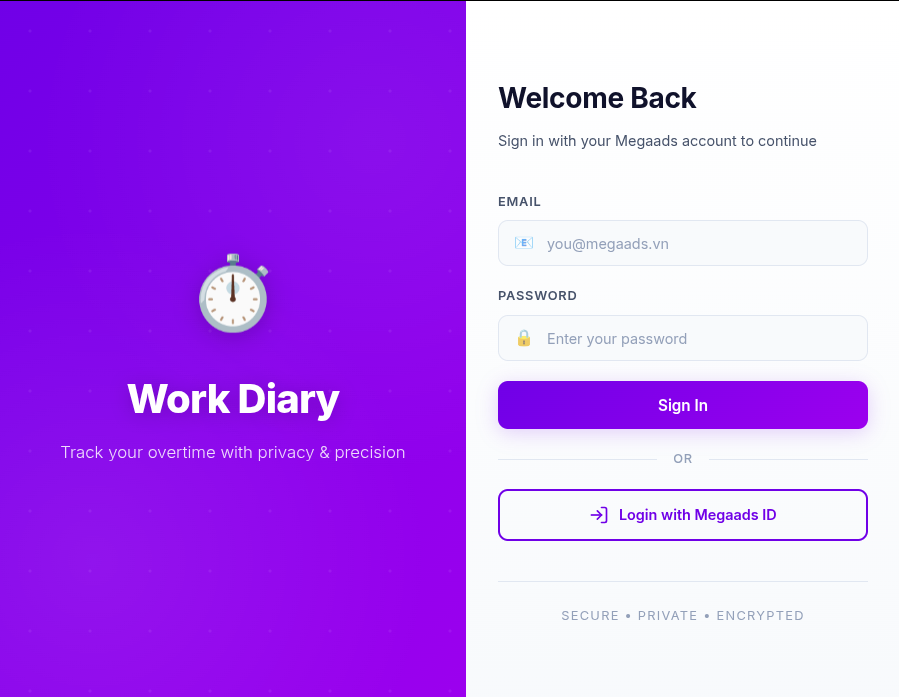
WorkDiary Login Screen
-
1
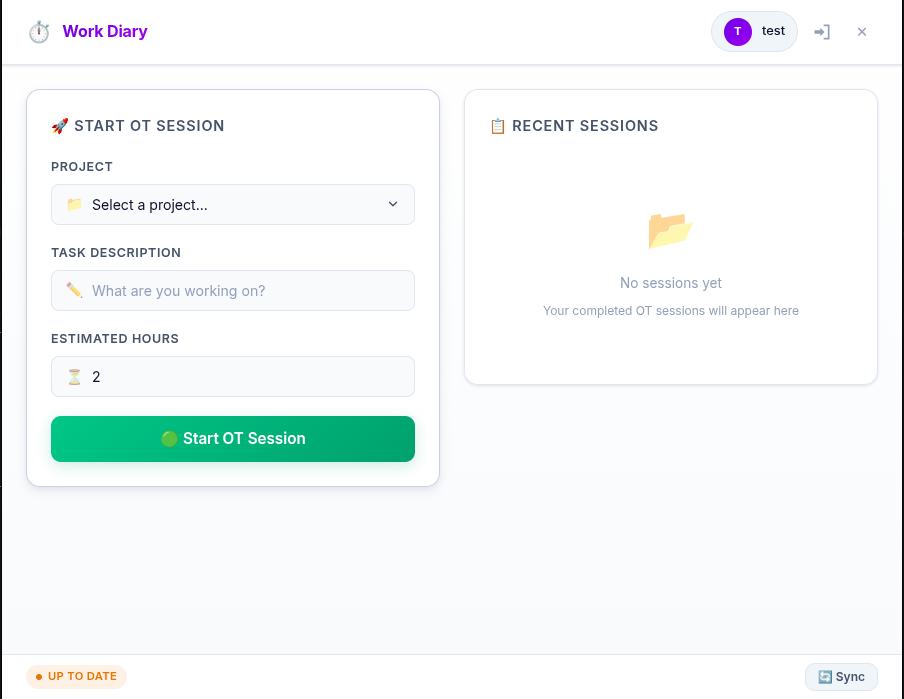
Launch WorkDiary
When you first open the app, you'll see the login screen.
-
2
Click "Login with MegaAds"
This will open your default browser for OAuth authentication.
-
3
Authorize the app
Log in with your MegaAds credentials and grant permission to WorkDiary.
-
4
Return to the app
After successful authentication, you'll be automatically redirected back to WorkDiary and logged in.
Tip: Your login session is saved securely. You'll stay logged in until you manually log out.